|
Antler Tine Replicating
This is the 2nd in the series for Antler Repair.
|
|
For tines that are larger or have a lot more texture you can replicate them easily with Silputty and Smooth-Cast 320. (You must find a good tine to replicate!) Sometimes you can use the opposite tine but it usually has a curve or shape that will not work for the other side. If you have another rack that has the right length and mass, it will work much better. Once you have selected a suitable tine to replicate, mix up the Silputty. Silputty is a two-part silicone elastomer that is mixed 50/50 and has a 99.95% dimensional accuracy. It cures to a firm elastomer in a few minutes at room temperature.
|
|
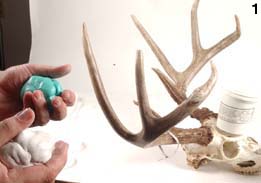 ' ' 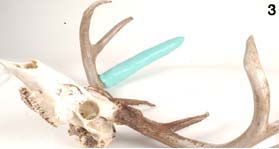
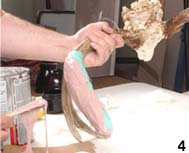
Next, mix two equal size balls of Silputty together and knead them thoroughly. (photo #1 ) Press the putty around the tine. Make sure the tine is clean and dry. Try to get an equal amount of putty around the tine, at least a 1/4 inch thick.(photo #2) Smooth out the putty and let it cure. (photo #3)
|
|
|
|
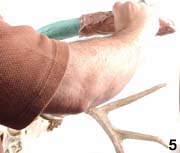
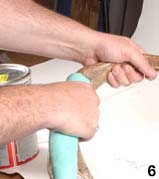
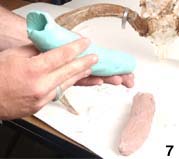
Once the Silputty has fully cured, a mother or support mold should be made. This is very simple to do by applying a coat of Bondo over the Silputty mold. (photo#4) After the Bondo has cured, pull the mother mold off and then remove the Silputty mold. (photos #5, #6, #7)
|
|
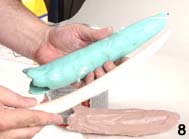 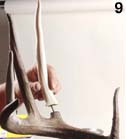 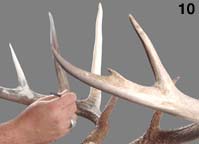
Now you are ready to make a replica tine. For this process, Smooth-Cast 320 is going to be used. SC-320 is a light beige ultra-low viscosity resin. Mix the SC-320 50/50 and pour it in to the Silputty mold. (photo #8) The SC-320 will be clear when poured in but will turn to the beige color as it cures. At the first sign of curing place a dry wall screw or wire (10 Gauge) in the resin and let it cure around it. This will give you a strong support when attaching the tine to the antler. After it has cured 15 minutes, remove the mother mold and then pull the replica tine. (photo #9) Drill a hole in the antler and fit the tine into place. Once you achieve the desired position, use 5-minute epoxy to adhere the tine. (photo#10). Next use the Fixit Paste to blend the union together.
Next step: Refer to Staining and Finishing Repaired Antlers
|